An Iridescent Abstract Table Sculpture

IMAG2672


Vibrant Iridescent Glazes

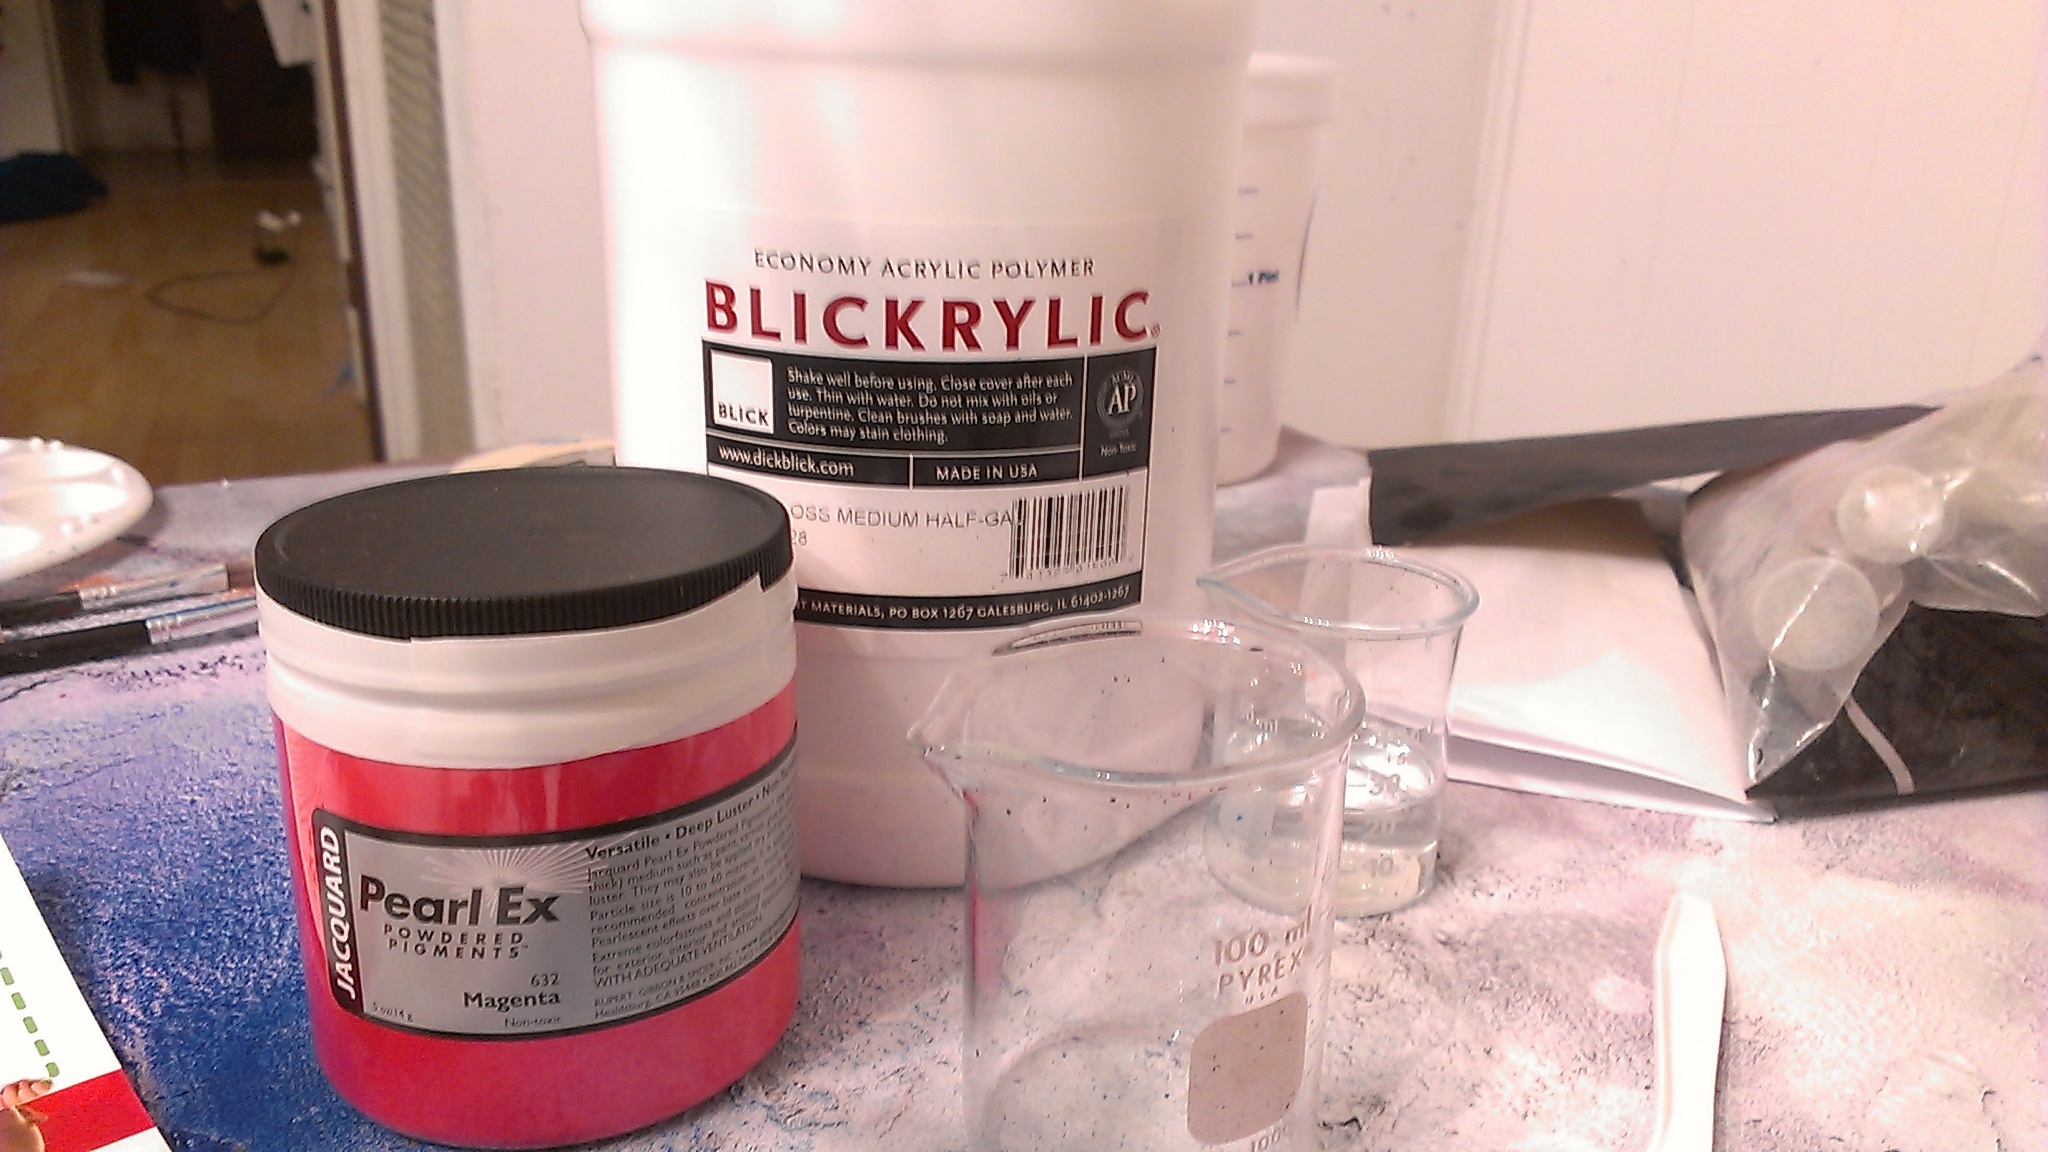
I present this finished work as a followup to my post “Braving Bitter Cold to Create Metal Art”.  Although the Reflex Violet Pearl Ex mica pigment that was airbrushed looks cool, the real magic is the layers of blue green paint on the triangulated plate.  A base of opaque blue green was followed by various shades of turquoise and blue.  The  final touch was a glaze made from gloss acrylic medium and metallic blue green.

IMAG2676IMAG2674

Playful Golden Curve

The purple and the iridescent turquoise glaze are stunning for sure but a little on the cool side.  This sculpture needed a contrasting color for the curved accent.  The royal gold color answered this call well.  It is warm and sunny but not so blazing hot that is takes the focus away from the background.


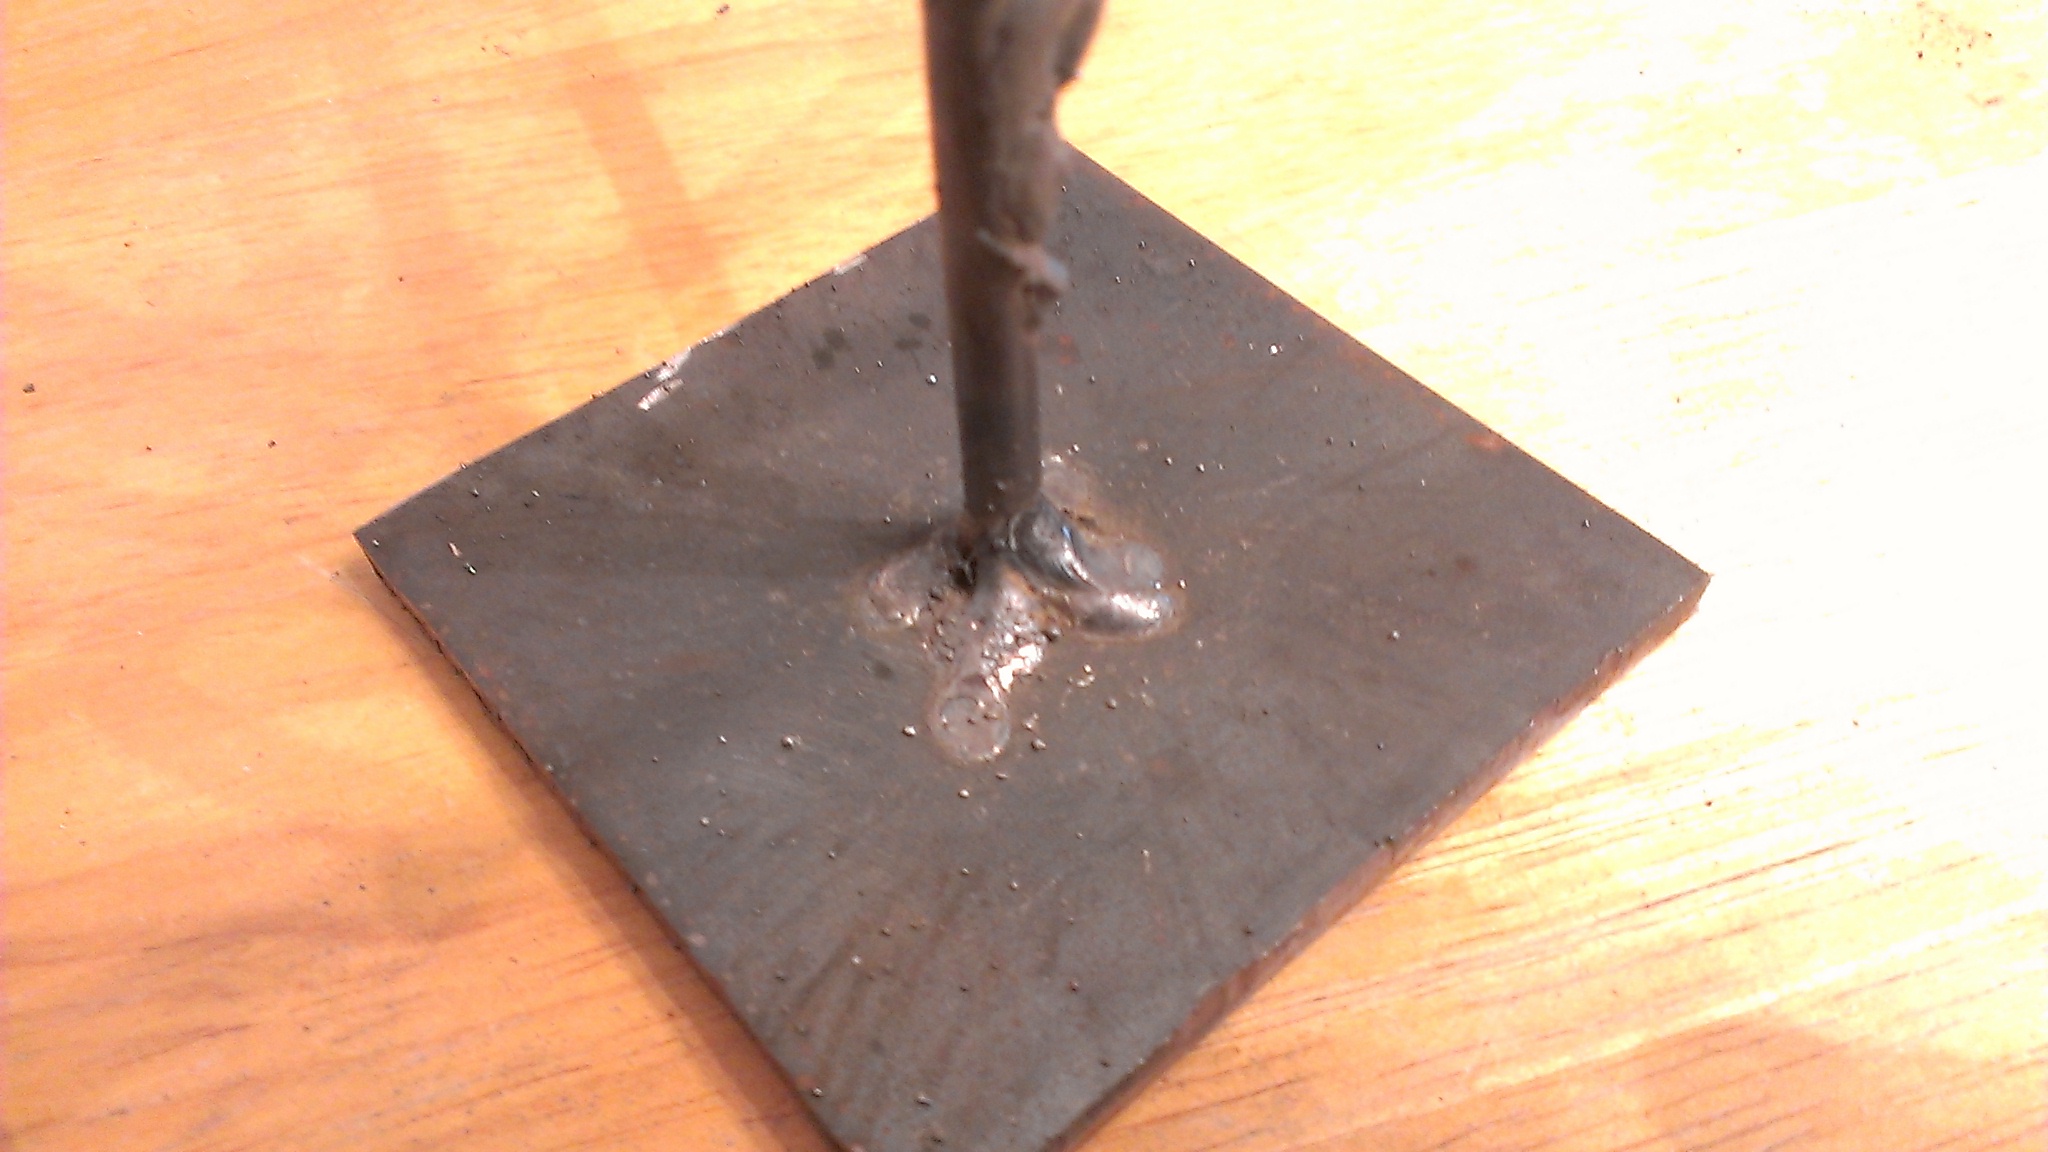
In the past, I usually painted the bases to my table top sculptures gloss black.  This time I used phthalo blue.  The base will look great against a light colored marble surface.

This post modern table sculpture is available in my Etsy shop.

Airbrushing Mica Powders in Acrylic Medium

IMAG2639

Spraying Pearl Ex Powder

To spray mica powders in an acrylic medium, you start out just like the way I discussed in a previous post published last August “Making Your Own Paint From Mica Pigment”.  You start with a dry mica pigment powder in a container.  You then carefully add just enough water to wet the fine particles and create a “slurry“.  Once it looks homogenous, you add copious amounts of acrylic medium. The “slurry step” is used when mixing mica powders with other mediums as well.  In the case for oils and alkyds, you would wet the pigment with mineral spirits,naphtha, or enamel reducer.  For lacquers you would use lacquer thinner.  More on this later.

IMAG2640IMAG2641

The two photos show the dry pigment on the left and the slurry on the right.  You stir but not so fast to generate too many bubbles.  If the powder is not cooperating with the water you may have to add a few drops of alcohol.  Some artist paint manufacturers have a product that is specifically designed for wetting pigments.  It is a blend of surfactants. 

IMAG2642

Add the Acrylic Medium

Once you have made sure all your pigment is fully wetted and suspended, then you can add your acrylic medium.  You want to add quite a bit.  The Pearl Ex pigment featured in this post is typically used in 10 to 12 percent ratio to the medium.  This allows for the pigment particles to spread out in the drying medium and reflect the most light possible creating the shimmering affect. 

After adding the medium and blending it all together, the mixture may lose its shine.  This is normal due to the opaque nature of the uncured acrylic resin in the medium.  It will dry clear after time to allow for the shimmer effect. 

It also bears mentioning that if you thin the acrylic mixture with water it needs to be maintained at a decent viscosity or the pigment might separate.  If you are airbrushing when this happens, it could lead to painting disaster.   Look at the photo below showing  mica pigment that is a medium that has been watered down too much.

IMAG2636

The Alchemy of Making Airbrush Paint

With my Badger 250 airbrush, I typically use a large tip and a pressure of at least 40 psi.  The mix that usually works for me is one that is noticably viscous but does not leave a “trace” on the surface while pouring it into itself.  I would describe the consistency at heavy cream.  You will have to experiment for yourself.  Get plenty of  scrap material to practice on. 

IMAG2643

Importance of a Basecoat

If you apply a basecoat to tone the mica coating, a light dusting is all that is necesssary.  Look at the pearlescent magenta finish above.  It is a beautiful thing nearly impossible to properly photograph.


Whimsicle Curves and Spirals Part 1

IMAG2623

My Winter Creativity Binge Takes a Turn

In my last post regarding braving the elements I created a angular piece from scraps.  While I worked on that, I also put together the gem you see on the left in the photo above.  It is a whimsical spiral wrapping itself around a curved bar terminated in a solid steel ball.   I took a chance by forming the 2 inch wide strip of 16 gauge steel around a schedule 40  four inch diameter pipe.  I then stretched the spiral form out to lengthen and give more dimension.  I thought that I just as easily could have turned perfectly good steel into rubbish.

IMAG2618

Working Out the Weld Position

It was quite awkward welding the spiral onto the curved support.  I have never done anything quite like this.  Needless to say I dropped things a couple of times before I figured a way to hold it still long enough to tack them together.

IMAG2620

Attaching the Solid Steel Ball

The next endeavor changed the whole dynamics of the piece.  I welded on a solid steel ball one and one half inch in diameter on the end of the curved bar.  This might sound big but it is.  It weighs nearly 1 pound and causes the whole piece to wobble.  Just to stabilize it, I had the mount the composition onto a steel base 3/8″ inch thick!   I used a 3/8″ round rod to brace the piece into a vertical position.  Just see photo below.

IMAG2621

Fun Colors For a Fun Sculpture

IMAG2626

Well I went to the trouble to make this organic and playful piece.  Why not adorn it with colors to match.  I started off with some student acrylics to cover the primer and establish a base coat for the pearl paints that will be applied on top.  The colors show are roughly like the metallic pearls that will be placed over them.  This provides me an opportunity to study and evaluate various color combinations.   I must say that it is tempting to almost go with the regular colors.  Look forward to spraying the finishes on this sculpture.

Braving Bitter Cold to Create Metal Art

IMAG2614

Eager to Create Metal Art

It just Christmas Eve and we have already experienced several nights in the single digits and a few snowstorms with a total of nearly a foot of snow.  Thankfully not all at once 😉 .  Working on metal art outdoors without a garage is especially difficult in these conditions.  I do feel it is going to be a long hard winter. 

Well, being that it is quite cold when its not raining or snowing, I find myself look for scrap pieces I can readily assemble into my next works of art. That saves time freezing while cutting metal to size.  I just tweak found scraps to conform to an idea then I zap them together with my flux core welder.

Take for instance the photo above,  I have had the large fender washer ready for another project since Septemember that never materialized.  The zigzag rod was me just messing around with my bench vise.  The angled support plate was a scrap of left over 16 gauge that I cut a little to get straight edges.  Put them together and you have the begining of a post modern meets art deco abstract composition.


IMAG2613

Finding All the Right Pieces

Many times when I improvise a sculpture, it just happens that the creative process takes over and the rest of the composition seems to come together on its own.  After I secured the rod and washer to the back plate, I found this quarter inch plate that was begging to be a base. So I welded it on with four strong welds.

IMAG2615

Stay Tuned For Further Developments………

Russet, Burgundy, and Maroon

il_570xN.512658034_2nf5

Russet, It’s not just potatoes

Today, I will be discussing handmade artwork in various shades of brownish red.  More specifically, the  colors russet, burgundy, and maroon.  Russet is a lighter brownish red of the russet potato where the color derives it’s namesake.  To me the color is slightly more red and dark than a brand new penny but not as dark as  red rust.  Russet red is also represented in various hues in autumn leanves.

il_570xN.540123522_mr6r

Burgundy is prestige and elegance

Burgundy is decidedly darker and more rich than russet.  It has a hint of violet.  It is the color of some red wines and roses.  It exudes wealth, prestige, and elegance.  It looks most spectacular when accessorised with any iridescent gold hue.  \

il_570xN_518480304_g4ll

Maroon is dark and deep

Maroon is definately a dark red.  It is red that has been darkened with black or brown.  It usually does not have violet or blue tones to it.  It may remind one of oxblood or Christmas decorations.

 All the items featured here are from an Etsy treasury I curated with the same title.  An Etsy treasury is a collection of other Etsians’ work featured in a curated exhibit that helps promote the works of art. 

Cutting Aluminum Sheet Metal with Hack Saw

IMAG2574


Cutting Metal By Hand

I am usually an advocate for using a power tool any time metal work is done.  There those times though, when doing it by hand is best.  Cutting this 16 gauge aluminum sheet with a hack saw is a perfect example.  This thickness of aluminum is rigid enough not to be easily bent or cut with tin snips.  Using a angle grinder would be overkill though.  This especially considering the special properties of aluminum.  One of which is its relatively low melting point of 660 degrees Celsius.  The heat from friction could gum up the abrasive cutting wheel.  Also, aluminum is relatively soft in comparison to steel so it is much easier to cut.

IMAG2575

Setting up for the cut

Setting up to cut sheet metal with a hacksaw is identical to using power cutting tools to cut metal.  You draw a line to follow, and if cutting straight lines, use a straight edge to guide you along the line.  Above you see I have created a grinder pattern on the sheet metal I will later use in a metal art clock.  I used a combination square to draw a rectangle 7 inches wide and 8 inches long.  The straight edge I use is a piece of 3/16″ thick angle iron that also serves to hold the aluminum sheet still while cutting.  I line up the edge about 1/8″ from the line and clamp down firmly.

The blade for the hack saw should be a metal cutting blade and be mounted with the teeth pointing away from you.  This allows for the cutting to occur in the forward stroke and clearing chips and burrs from the teeth on the back stroke.  A couple drops of 3 in 1 oil on the blade make a world of difference in keeping the blade from getting caught in the cut and keeping the blade relatively cool. Cutting fluid would work equally as well.

IMAG2576

The important thing is let the blade do the cutting and not to force it.  The blade will last much longer this way.  Also be sure to stay near your cutting guide so as not to stray too far and mess up the straight line.

IMAG2577


The Finished Cut

Although it does not look as perfect a mass produced sheet from a big shear, I am pleased with the result.  Now it off to design my next clock.

Awesome Upcycled Jewelry tree

IMAG2543


A Creative Outlet for Scrap Nails, Bolts, and Metal Rod Cutoffs

A customer recently contacted me via my Etsy shop to design a jewelry tree I recently sold.  With space limited, I need to make a tree 10 inches or less.  The beauty of this work is it can be done at nearly any scale.  Usually, it can be made entirely of scrap pieces of metal.  This work was literally made from scrap I had stashed for just such an occasion.  The rods are 1.4″ and 3/16″ in diameter and where bent to give more organic curves.  Random nails, bolts, and screws were welded on as “foliage”.

IMAG2534


IMAG2531


Looking at the second photo, notice the improvised root system joining the jewelry tree to the 1/4″ thick steel plate base.  One of the perks to using a wire feed welder is the endless metal texturing and modeling potential.  Next a solution of gun bluiing is applied to give a nice distressed bluish black patina on the steel.

IMAG2537


Once rinsed to stop chemical conversion and dried, a nice gloss clear finish was applied.

IMAG2543